

Risk rules
Find and manage the risk controls available to you in the Merchant Portal under Settings → Risk Rules.
- Open Settings → Risk Rules.
- Select Basic Risk Rules to manage the available limits and lists, or Advanced Risk Rules to review the rules shown for your account.
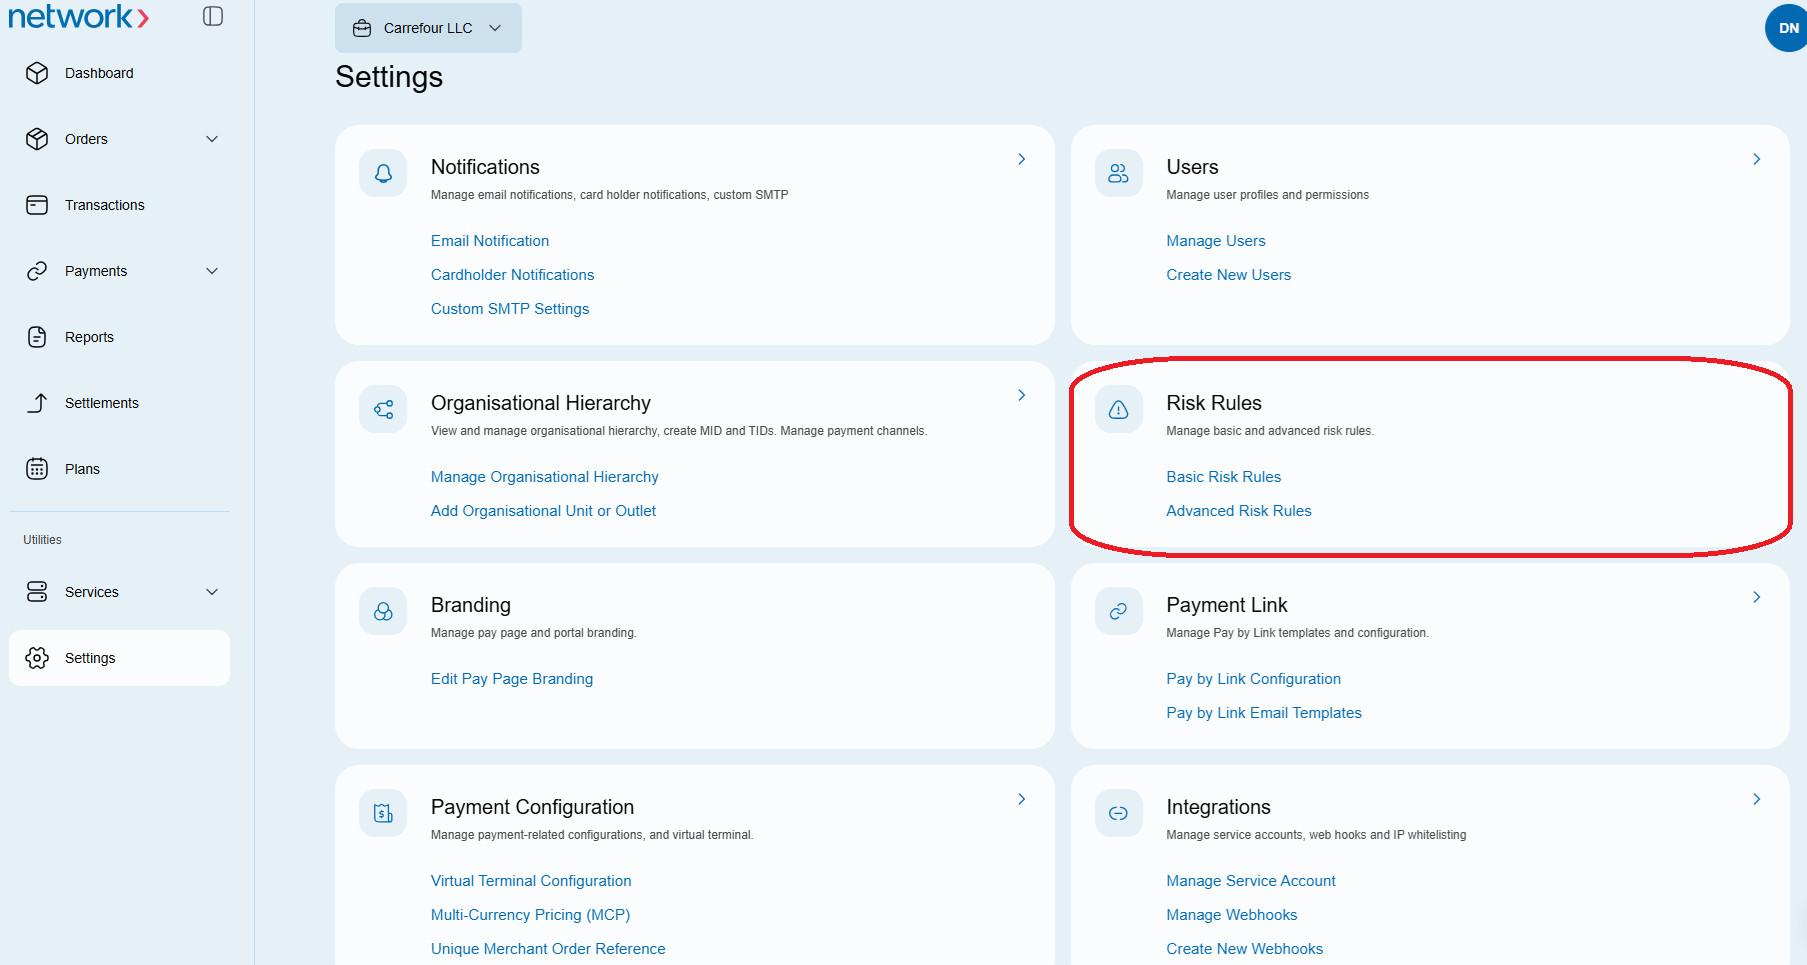
Basic Risk Rules
Basic Risk Rules groups controls into Transaction limits, Payment methods, Geography, Customer Identity and Card identity. Available actions depend on the controls shown in your Portal.
Transaction limits
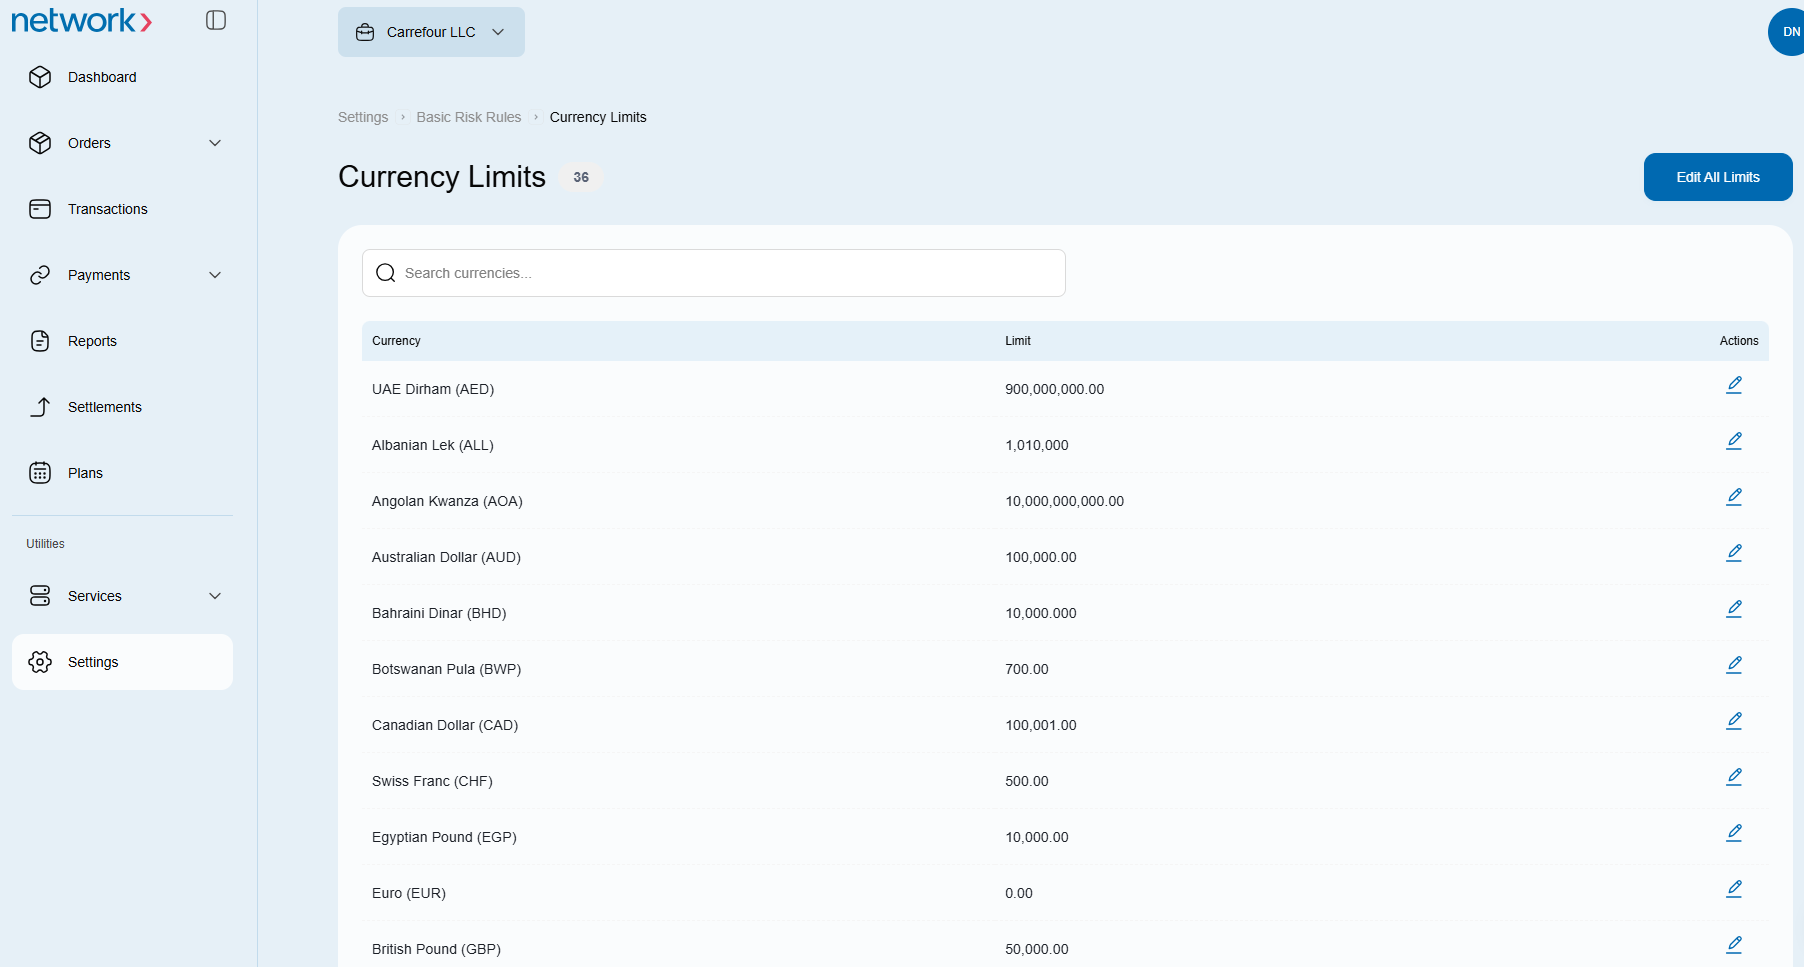
Open Transaction limits, then select the link for configuring currency limits. The currency page lists currencies and their limits. Use Search currencies to find a currency.
To change one limit:
- Find the currency and click its Actions icon.
- Enter the revised limit and click Save, or Cancel to leave it unchanged.
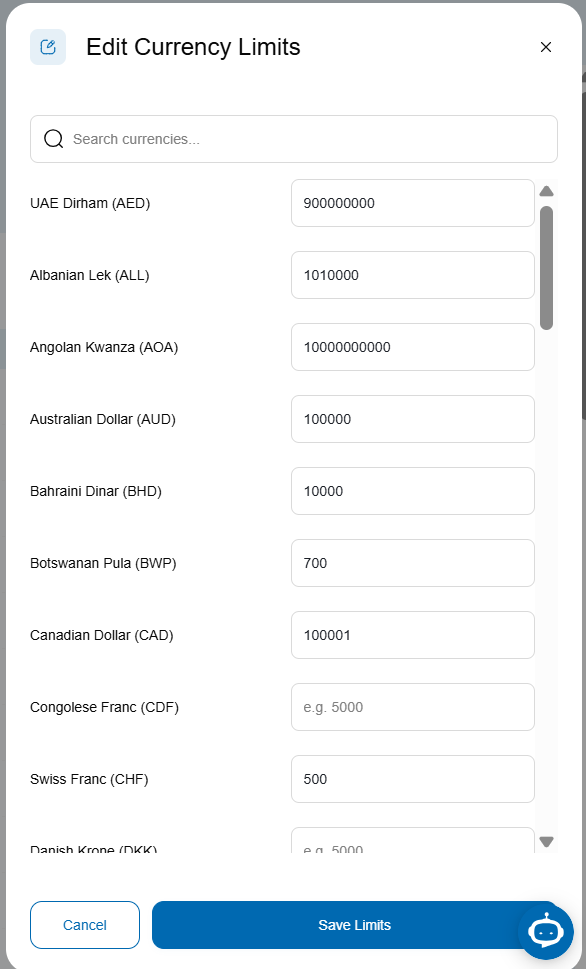
To work with multiple limits, click Edit All Limits. The pop-up lists currencies with editable limit fields; click Save to submit changes or Cancel to leave them unchanged. The available currencies and permitted limit values depend on what the Portal shows for your account.
Payment methods
Use the corporate-cards toggle in Payment methods to enable or disable corporate-card payments. The Portal briefly displays a message saying that corporate cards have been enabled or disabled.
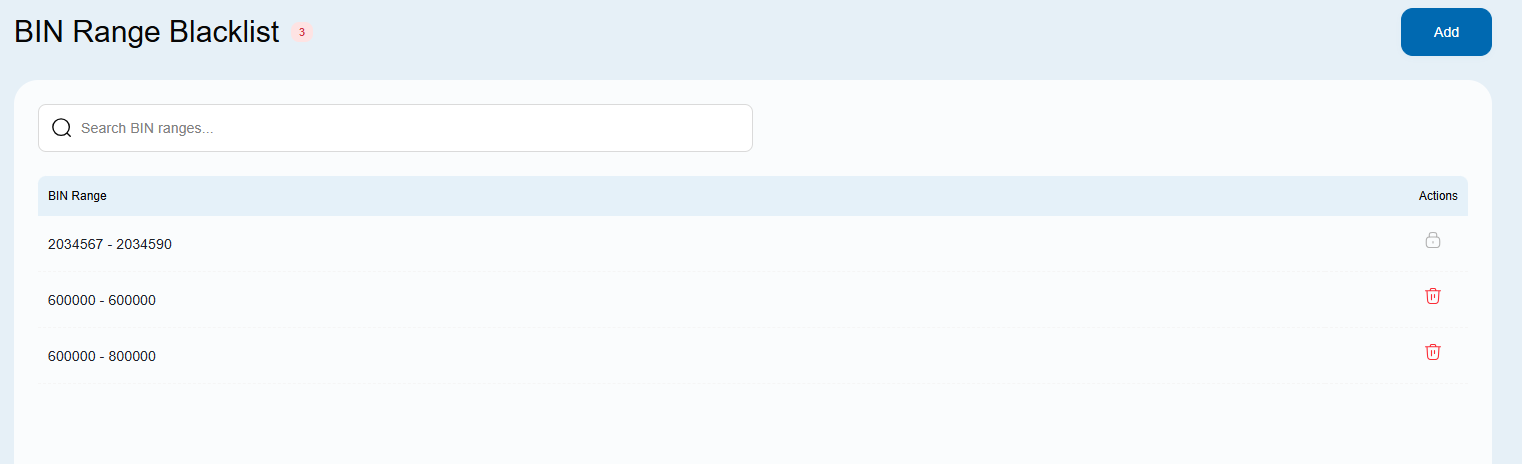
The BIN Range link opens a table of bank identification number (BIN) ranges. To add a range:
- Click Add.
- Enter a six-digit BIN in Range start and a six-digit BIN in Range end. For a single BIN, enter the same value in both fields.
- Click Add to submit or Cancel to leave without adding a range.
To remove a listed range, click its delete icon. The confirmation dialog offers Confirm and Cancel; check the selected row before confirming.

Geography
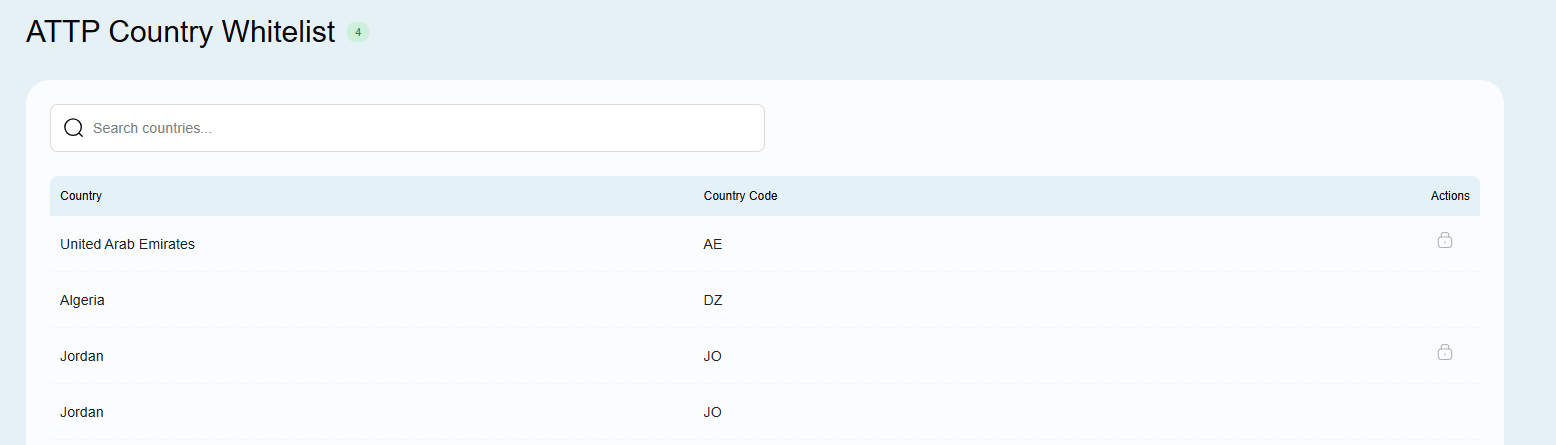
Select ATTP Country Whitelist, Country Bin Block List or Wallet Country Bin Blacklist to inspect the corresponding country list. Each page shows a table with country, country code and action columns, plus a country search control.
Customer Identity
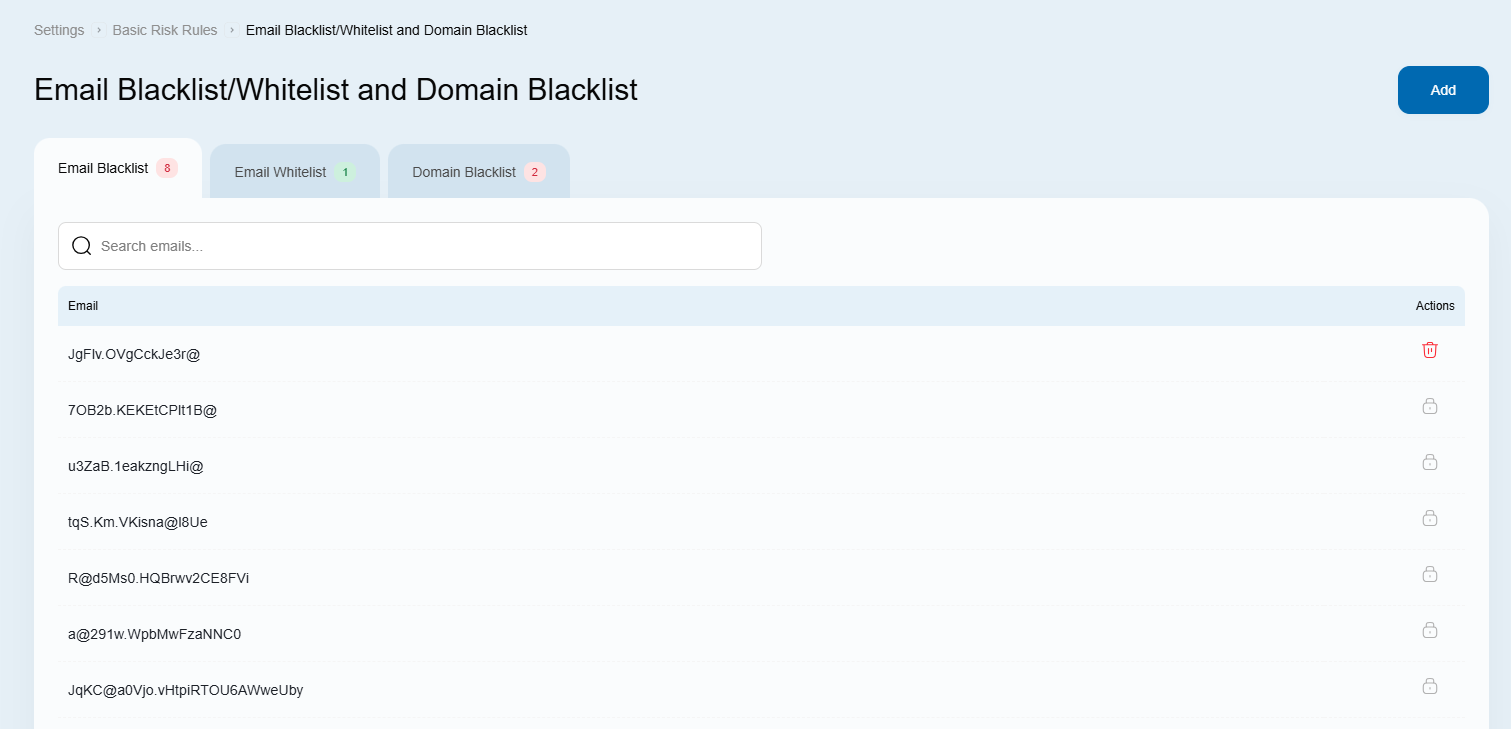
Select Email Blacklist, Email Whitelist or Domain Blacklist. Each list has a search control, an Add button and a delete action for listed entries.
To add an entry:
- Open one of the three lists and click Add.
- Choose Email Blacklist, Email Whitelist or Domain Blacklist from Add to.
- Enter the email address or domain in the field. Its label changes to Domain when you choose Domain Blacklist.
- Click Add to submit or Cancel to leave without adding the entry.
To remove an entry, use its row action. Review the selection in the confirmation dialog, then choose Confirm or Cancel.
Card identity
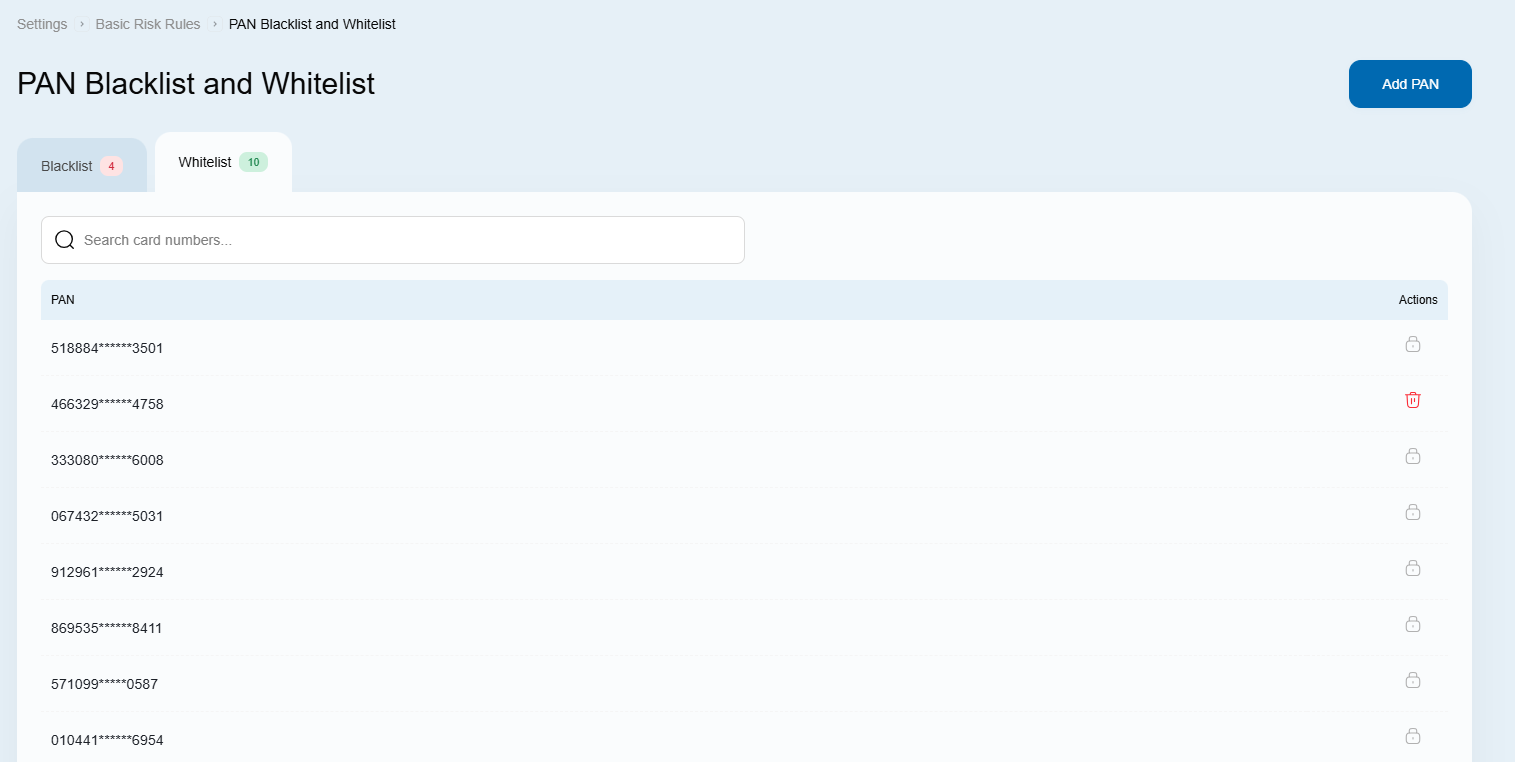
Select PAN Blacklist or PAN Whitelist to view and search the corresponding list of primary account numbers (PANs). Each list has an Add PAN button and a per-row delete action.
To add a PAN:
- Open either list and click Add PAN.
- Enter the card number in Card number and choose Whitelist or Blacklist from Add to.
- Click Add to submit or Cancel to leave without adding the entry.
To remove an entry, use its row action and choose Confirm or Cancel in the confirmation dialog. Do not include real card numbers in screenshots or support messages.
Advanced Risk Rules
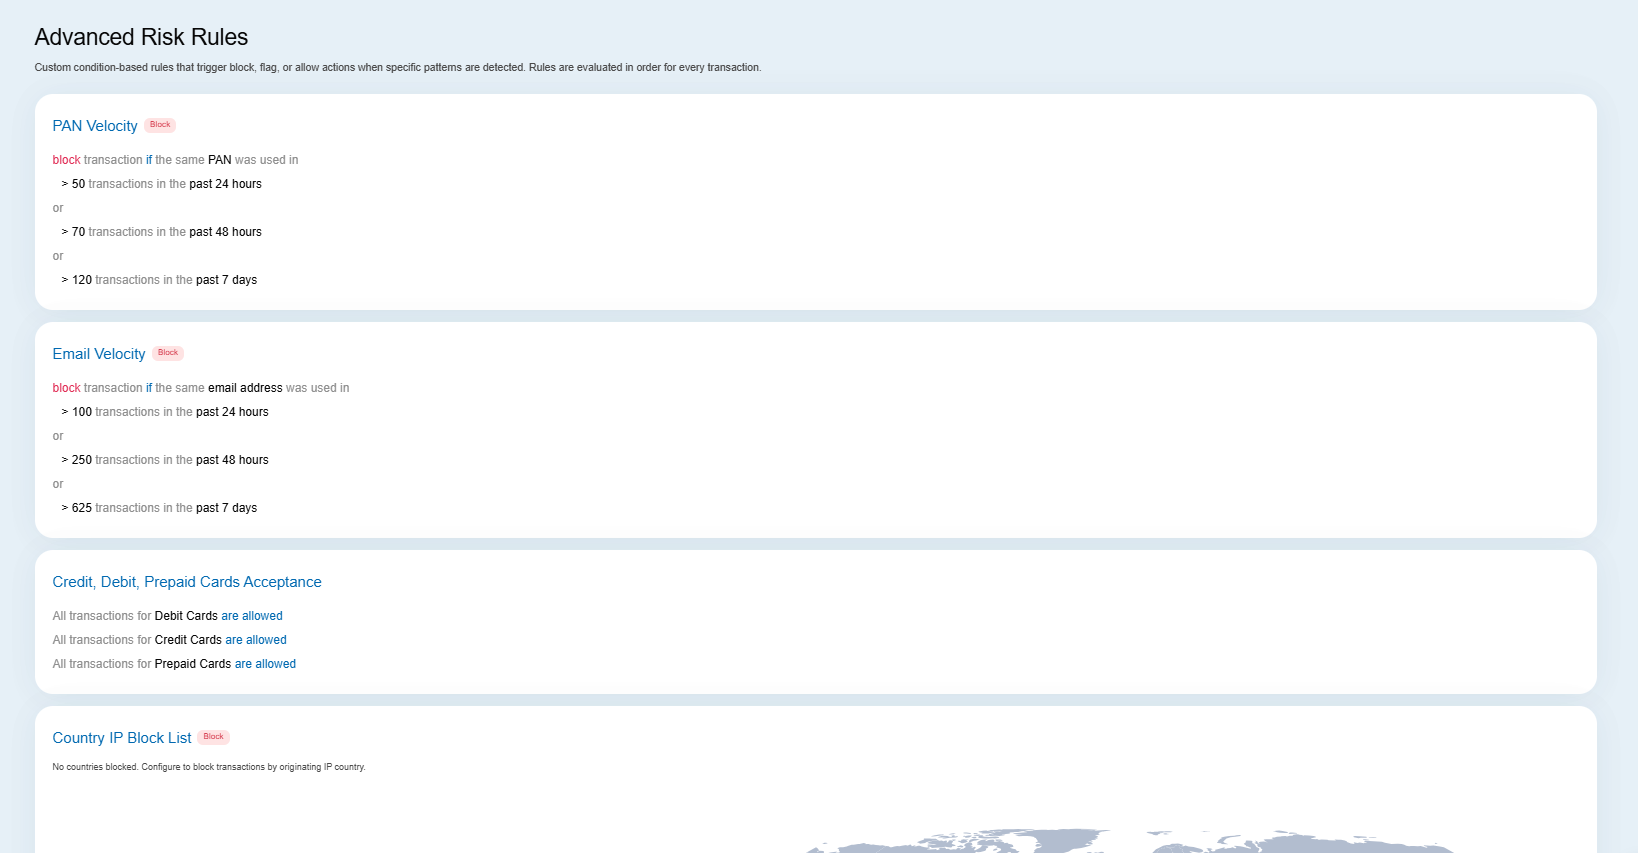
Open Advanced Risk Rules to review PAN velocity (transaction blocking by time period), email velocity (blocking by email used), credit, debit and prepaid card acceptance, and the country IP block list. No edit controls were available in the Portal access reviewed for this guide; do not assume these rules can be changed from that screen.
Updated 1 day ago